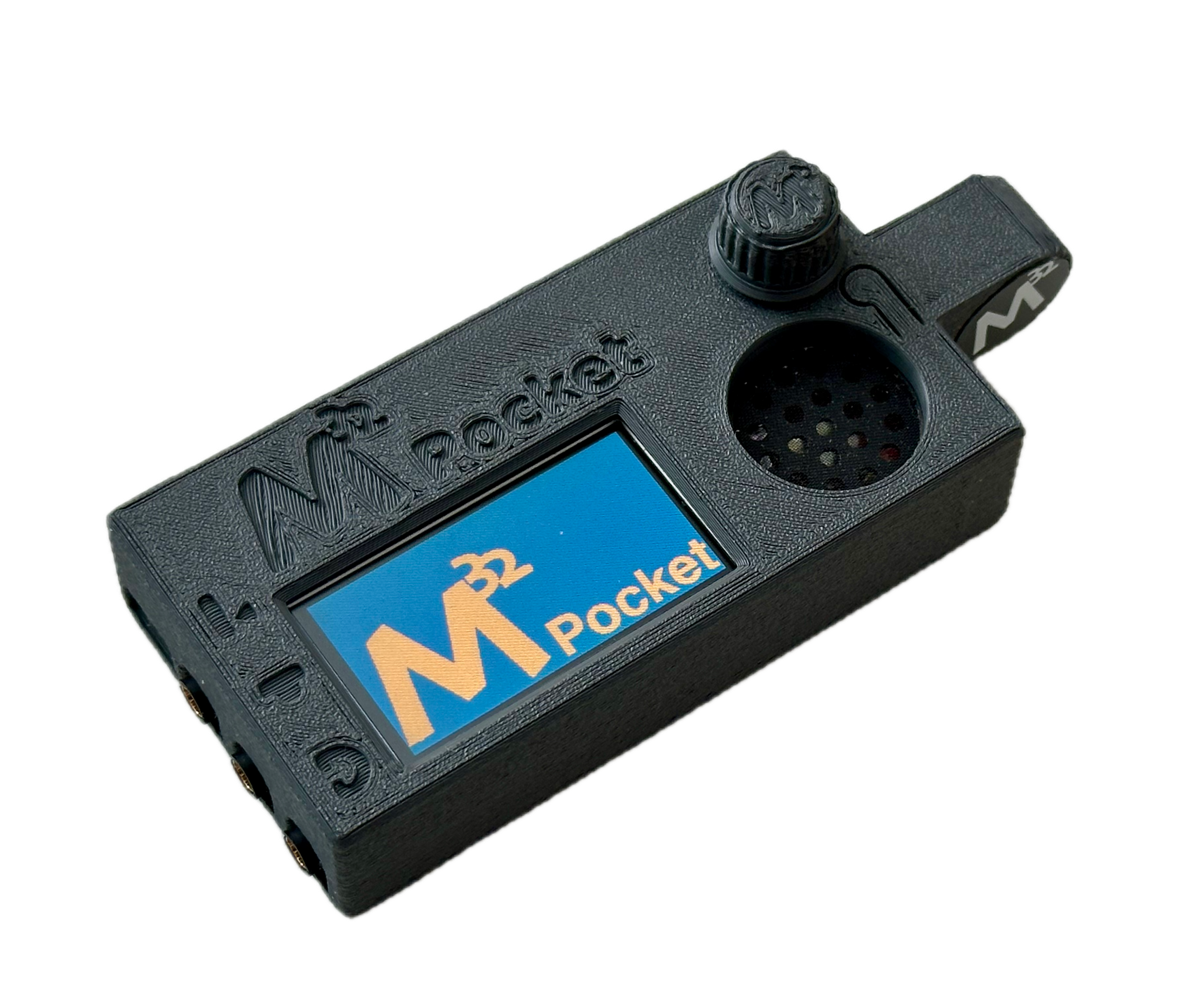
The new M32 Pocket is here!
It is a multi-functional Morse device (Keyer, Trainer, Decoder, even Transceiver etc.). It is ideal for learning and practicing Morse code, useful for everybody from beginner to high-speed pro.
All documentation and software is in the Public Domain and can be downloaded from here:
To update your Firmware through your browser,
For M32 1st & 2nd edition: click here
Other update methods are documented in the user manual.
User Manual is here.
You get information about common problems and how to solve them, as well as announcements of firmware updates. The group is managed by groups.io.
A really helpful and friendly community, highly recommended!
Join here:
The Morserino-32 is a multi-functional Morse code device for everyone from absolute beginners to high-speed operators. Three generations — the original kit, the 2nd edition, and the new M32 Pocket — share the same proven firmware, giving every user access to the full range of features.
Learn. The Koch Trainer introduces characters one at a time at full speed, following the proven Koch method. Choose from four established character sequences (M32/JLMC, LCWO, CW Academy, LICW Carousel), or define your own. The Adaptive Random mode automatically focuses on the characters you struggle with.
Practice. The CW Generator produces random groups, realistic callsigns, common CW abbreviations, English words, or plays your own uploaded text files — all with configurable Farnsworth and Wordsworth spacing. The Echo Trainer challenges you to copy and key back what you hear, with immediate feedback. Adaptive speed pushes you to your limit automatically.
Key. A full-featured iambic keyer (modes A, B, Ultimatic, Non-Squeeze) with built-in capacitive touch paddles, or connect your own external paddle or straight key. Eight programmable memories. Use it as a standalone practice oscillator or connect it to your transceiver.
Decode. The built-in CW decoder works from a straight key, the touch paddles, or audio input from a receiver — with adjustable bandwidth filtering.
Communicate. Talk to other Morserino users over WiFi (via your local network, across the Internet, or peer-to-peer using ESPNow without any infrastructure). Earlier editions also include a LoRa transceiver for direct communication on 433 MHz. Connect to online services like QSO bots, iCW, and VBand.
Play. The M32 Pocket introduces CW games that make practice fun. Morse Invaders challenges you to destroy falling characters by keying their Morse code — with difficulty that adapts to your Koch lesson and speed.
Extend. Open-source firmware, USB serial protocol for computer integration, Bluetooth keyboard output, and a growing ecosystem of third-party training software. Update firmware easily via WiFi, USB, or a web browser.
"The Echo Trainer may well be my favourite feature of the Morserino. It has helped me get faster at decoding and sending morse code. [...] This mode has been the most helpful to me in improving my morse code."
— N2EC, Morserino-32 (Version 2) Review
"To me, the Echo mode is worth the full cost of the kit."
— Nuts & Volts Magazine, Learn to Send and Receive Morse Code with the Morserino-32
"I highly recommend you get your hands on one of these. In CW keyer mode it provides great feedback on your ability to key. If you screw up for example and pound out 4 dots instead of 3 for 'S', you get an H on the display. This immediate feedback is helpful when you are learning."
— N1CLC, My Tips for Learning Morse Code
"As an owner of a Morserino I highly recommend you buy and assemble one — it's a great tool and also functions as a very well implemented keyer you can use with any rig."
— QRPLabs forum user, groups.io discussion
"The capacitative paddles are surprisingly good and with a bit of practice you can send quite well with a very light touch."
— N2EC, Morserino-32 (Version 2) Review
"What's really great about it — as a keyer it translates what you send into text on the screen. If it's connected to a radio it would decode the Morse code coming into it."
— Brightleaf Amateur Radio Club, Morserino 32 Adventure
What users say:
"The Echo mode is worth the full cost of the kit." — Nuts & Volts
"It has helped me get faster at decoding and sending." — N2EC
"I highly recommend you get your hands on one." — N1CLC
"A great tool and also a very well implemented keyer." — QRPLabs forum
You can extend the functionality of the Morserino-32 by using add-on PC software, provided by 3rd parties:
(runs on Opera, Chrome and Edge, not on Firefox or Safari)
>> Morserino Chat Server: Using the WiFi Transceiver mode, you can converse in Morse Code with other Morserino users across the globe (see video below).
>> QSO Bot by John, M0STQ - see https://qsobot.online/
We teach CW and live QSO protocol via internet video conference classes. Our Club has QRP and boat anchor enthusiasts plus local activities.
Joining them is highly recommended!
"Morsen ist eine Kunst; und Kunst kommt vom Können."
Introduction to the Morserino-32, by OE6FEG
Review of the Morserino-32, by KI6NAZ
Demo of M32 WiFi Transceiver,
(via cq.morserino.info), by OE6FEG
CW School Graz: Course Intro
(The videos of CW School Graz are bilingual, German & English.)
The Morserino-32 does not have an interface for an external monitor.
But it is possible to send all characters via the USB serial interface to a connected computer. If you use a terminal program, or one of the programs described under „Extend M32 Functionality“, these characters can be displayed on a computer screen.
No, I do not have the resources to assemble kits. But the kit is easy to build, it takes about one hour. All SMD parts are already populated on the PCB. It is also an ideal project for your club! Build it together (more experienced builders can help those with less experience), and then practice Morse code together!
If you cannot find someone to help you out, send an email to info@morserino.info - I will try to find someone for you.
No, it is not difficult. There are only a handful of through-the-hole components that need soldering; it is best you have a look at the building instructions on Github. There is also a building video by Rose B. Ganim that will help you along (it is based on the 1st edition, but the differences are really minor).
Building the Morserino-32 takes about one hour.
You should have a good soldering iron (with a fine tip), some solder (preferably NOT lead-free!), maybe a magnifying glass or a lamp with magnifying glass, and a small wire cutter.
If this is your first project as a kit builder, it might be a good idea to have someone stand ready as an „instructor“ (I am sure there is someone in your local community who has some experience with building electronics kits…)
Yes, since firmware version 3.0 straight keys are supported (for earlier versions is was only supported in Decoder mode).
In order to use a straight key, set the Keyer Mode parameter to Straight Key.
Yes, you can power the Morserino-32 through USB .
You can use a standard 5V USB charger with a microUSB plug, or a power bank - but be careful, some power banks stop working when the load consumes less than 100 mA (there are dongles available that prevent power banks from switching off)!
The same USB Power source is also used for charging a connected battery.
The assembly instructions contain an appendix with a fairly complete test routine, and hints what could be done to solve the problem.
Visit the Morserino Shop to get information about availability, price, payment and shipping options.
A LiPo battery is not part of the kit and has to be sourced separately. You can get suitable batteries from Amazon, eBay, or from your local RC/model plane/drone shop.
If you are an absolute beginner, it certainly would help enormously to seek the guidance of a teacher - maybe someone in your local club could do this for you.
There are also clubs dedicated to teach Morse Code, frequently also over the Internet. Two examples are the Long Island CW Club (USA), and the CW School Graz (Austria).
Apart from a newer Heltec Module and a new speaker, not much:
Yes. the software and documentation (including schematics) are published on Github.
While the software is under a very liberal Open Source license, anything pertaining to schematics and layout will have restrictions concerning commercial use - amateurs will be free to make use of it, but mass production (say, more than 50 pieces ;-) for commercial reasons will not be allowed unless a proper license fee has been negotiated.
The language of the user interface is English only .
The decoder recognizes the characters of the International Morse Alphabet, and currently also the extra characters for German (special characters for other languages might be added in the future).
The documentation (user manual) is available in English and German, and (user supplied) in Dutch, French and Spanish (these versions might not always be fully up to date). Other languages might follow, if there are volunteers in the user community who will do the translation.
The important facts first:
You need a single-cell LiPo battery, with a nominal voltage of 3.7 V, and a capacity between 400 and 1200 mAh (the capacity is really not critical, it just determines how often you have to recharge. 500 mAh gives you about 4-5 hours of operation.
Ideally it should have a Molex plug (if you have a battery with a different plug, you need a cable with a fitting connector, as the supplied battery cable uses a Molex). For my prototypes I used a small 600 mAh single-cell LiPo battery that is commonly used in RC devices like quadcopters etc. The brand I use is „Tattu“ and has the following specs (see https://www.gensace.de/tattu-600mah-3-7v-30c-1s1p-lipo-battery-pack-with-molex-plug-1-pcs-pack.html ):
Tattu 600mAh 3.7V 30C 1S1P Lipo Battery Pack with Molex Plug
Capacity: 600mAh
Voltage: 3.7V
Max Continuous Discharge:30C (18A) (this is irrelevant for our purposes)
Weight: 15.7g
Dimensions: 60 x 19 x 7mm
See the picture below; Tattu is the battery at the top).
Of course you can use similar batteries from other manufacturers; in order to fit under the micro controller the maximum dimensions are: 65 x 20 x 8 mm. Unfortunately batteries available depend very much on specific markets - what is easy to get in Europe might be hard to get in North America.
You can use larger batteries if you mount them under the PCB, on the bottom plate of the case. To give you more flexibility, the kit will contain 6mm and 12mm distance bolts for mounting to the bottom plate. This means you can use pretty large LiPos, as long as they are < 10 mm thick. If you use the 6mm and 12 mm stand-offs in combination, you could even use batteries that are up to 16 mm thick! You have to make sure that you mount the battery in such a way that it is impossible for any sharp metal spikes to scratch the surface of the battery - this could lead to fire or explosion!
One option would be this type (in the picture the battery at the bottom):
https://www.amazon.de/gp/product/B01JJ6DA7A/ or even that one, for even more capacity: https://www.gensace.de/gens-ace-3500mah-3-7v-tx-2s1p-lipo-battery-pack-with-jr-plug.html (but be aware that the latter one does not use a Molex plug - you would need to find a cable with a suitable plug to connect this to your Morserino-32).
January 2017: MetaLab, a „hackerspace“ in Vienna, Austria, was planning a workshop for the upcoming „Makerfaire“. A sketch was produced during the meeting by OE1WKL, and a functional prototype developed by him within a few weeks. It was an Arduino Nano-based Keyer, CW Generator and Decoder.
“metaMorserino”:
OE3HBS designed a PCB and a case, and prepared 20 kits for the workshop. All kits were sold on the first day, and during the following months more than 100 kits were sold.
Full documentation (manual in German and Spanish) and source code are still available on bit.ly/metamorserino. User interface is in English, as are comments in the source code.
In a meeting with OE6RDD from CW School Graz it became clear, that this was a nice toy, but to become a really useful gadget many more features needed to be incorporated, and that the Arduino was not powerful enough for that.
January - May 2018: Built a first prototype based on ESP32 (Heltec Module) on breadboard
June 2018: First demonstration at the HAM RADIO show in Friedrichshafen (Germany)
October - November 2018: Kickstarter campaign to fund the first batch of kits. Financial goal reached in 2 hours, campaign funded > 300 kits in total.
October - November 2018: First edition sold out after 2.700 kits. Re-design of PCB for 2nd edition.
About me: I am Willi Kraml, and I live in Vienna, Austria. I took the amateur radio license test in 1967 (first without the Morse Code test, a few months later I took that as well), have been licensed in Austria since 1968, and my callsign is OE1WKL (originally I was on the air as OE5WKL, then for many years as OE1WKL, followed by OE3WKL, and now again OE1WKL - in Austria the digit in the call signifies the federal state you live in). In 2021 I also took the US exams, including Extra, and am licensed now also as KD6KW.
But I also have to admit that I was not always very active in Amateur Radio (due to QRL, family duties, and because of too many other interests :-). Now that the times have changed (a sign of old age), „radio activity“ has increased again ... By the way, I am neither an Electronics Engineer, nor a Computer Scientist…. Just an amateur.
I am a member of the Austrian Association of Experimental Transmitters (Österreichischer Versuchssenderverband, ÖVSV), for which I also serve as their web master, and of MetaFunk, and am proud to have been made a life-long honorary member of the Long Island CW Club.
„Please read my Amateur Radio Magazine @ Flipboard!“